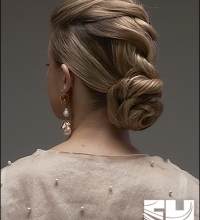
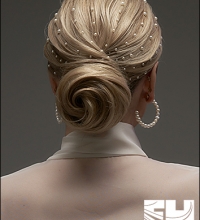
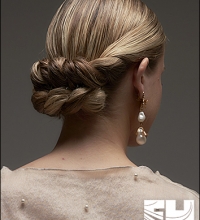
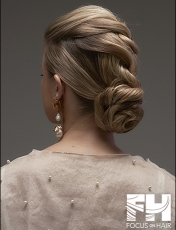
 Add some volume and texture to create an amped-up braid that’s perfect for almost any occasion. For best results, you’ll need hair that’s mostly one-length and reaches your bra-line in back. This technique works well for medium to fine density hair.

What you’ll need:
- Thermal protectant
- Sectioning clips
- Texture iron
- Coated elastic bands
- Small elastics (that match your hair color)
Prep: You’ll want to start with dry hair. Take a large section of hair that spans from the top of one ear up and over the head to the top of the other ear. Twist this section of hair at the top of your head and clip up out of the way. Take another section that spans horizontally from the top of one ear across the back of your head to the other ear. Twist this section and clip out of the way. You should be left with a large section of hair at your neck.
Step 1: Taking one-inch subsections of hair, mist with a thermal protectant. Using a texture iron and starting at the scalp, clamp down on the section of hair to create a tight crimp pattern. Hold in place a couple of seconds and then release. Move the iron down the same section of hair the width of the iron and clamp down again. Continue down the entire length of that section. Take another section and repeat the process. Once the entire section across the back of your head is done, unclip the next large section in the middle of your head and repeat the process. Do the same thing for the large section at the front of your head.
Step 2: Once all of your hair is texturized, sweep everything back and secure with a coated elastic band to create a full ponytail. Add a second elastic band to keep hair from slipping throughout the day.
Steps 3-4: At the top of the ponytail, take a horizontal section and add a small elastic band a few inches down the section. Grab both sides of the section and lightly pull to create a small pouf.
Steps 5-6: On each side of the pony, take a vertical section of hair. Pull both sections back and secure under the first section (pouf) with another small elastic. Pull both sides of the banded section to add fullness.
Step 7+: Continue taking vertical sections on the sides of the pony and securing in place under the previous section with a small elastic until you run out of hair. When you a few inches from the ends, tie off with one more elastic band.
Looking for more tutorials? Try these long hairstyle ideas.

